Using the Secure File Transfer Protocol (SFTP)
An Example with CoreFTP LE
Stampede, LittleFe, and your own copies of BCCD all run an ssh
server by default (without you doing anything). For Stampede
and LittleFe, files may be transferred as follows below.
Instructions for BCCD virtual machines are similar, and detailed
instructions for doing so follow after the Stampede/LittleFe
instructions.
File transfer can be accomplished using a free sftp client. CoreFTP
LE is one such free client. Many other free clients
exist. There is no need to pay for an SFTP client for this
class. This one is available at http://www.coreftp.com/download.html
Use the default install for the CoreFTP LE client.
Instructions for connecting to LittleFe and Stampede
When you open CoreFTP LE, the program should look as follows below.
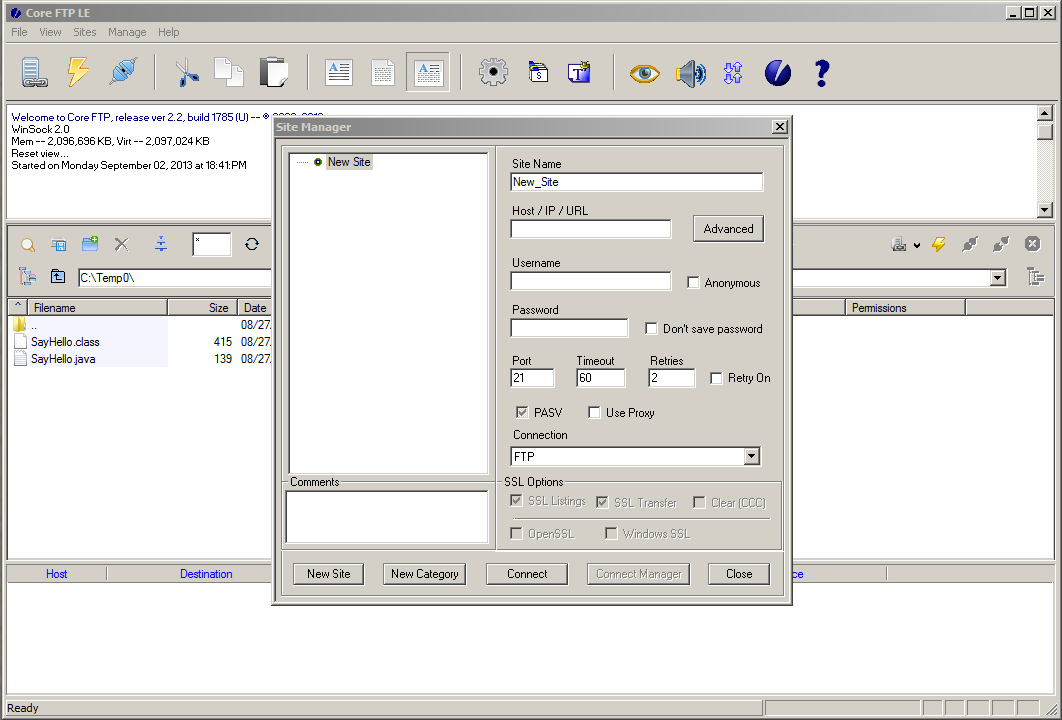
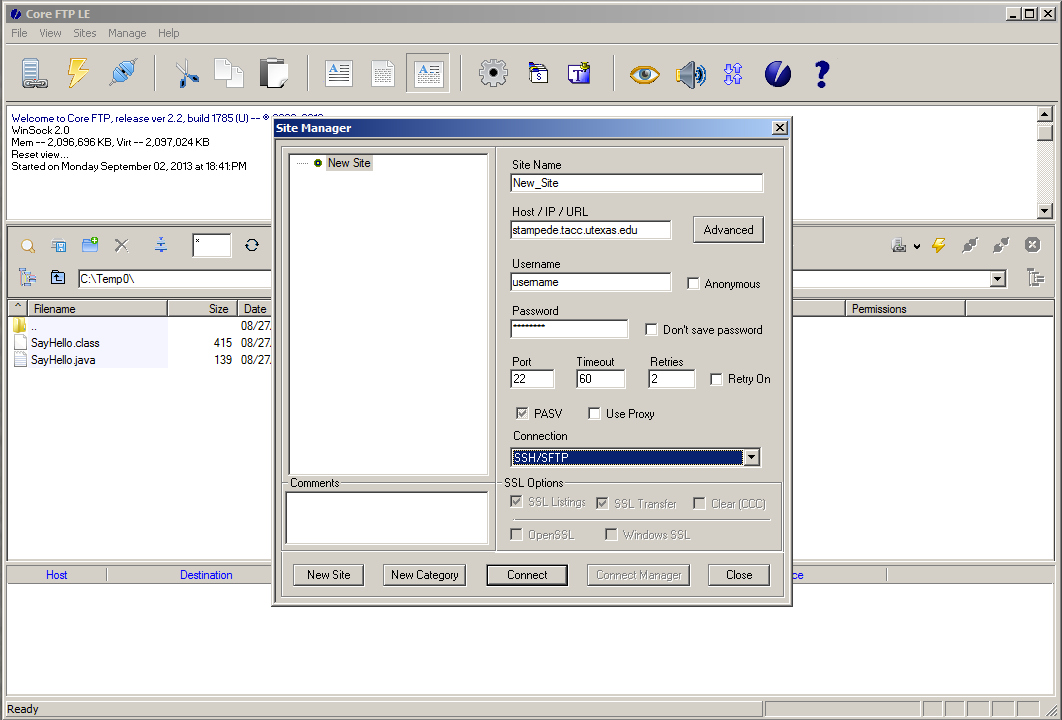
As shown below, in the "Site Manager" dialog box, enter the "Host"
(either littlefe.nwmissouri.edu or stampede.tacc.utexas.edu), your
"Username", and your "Password". Change the "Connection" to
SSH/SFTP in the dropdown box.
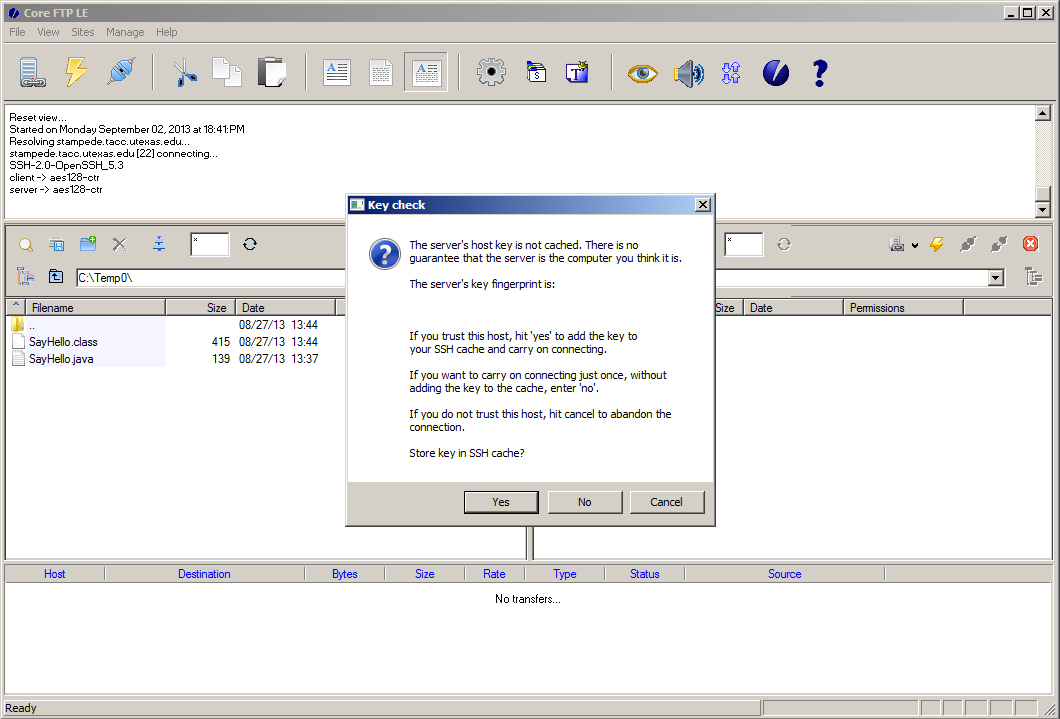
When connecting for the first time, CoreFTP will ask you to store
the server's ssh key. Click yes.
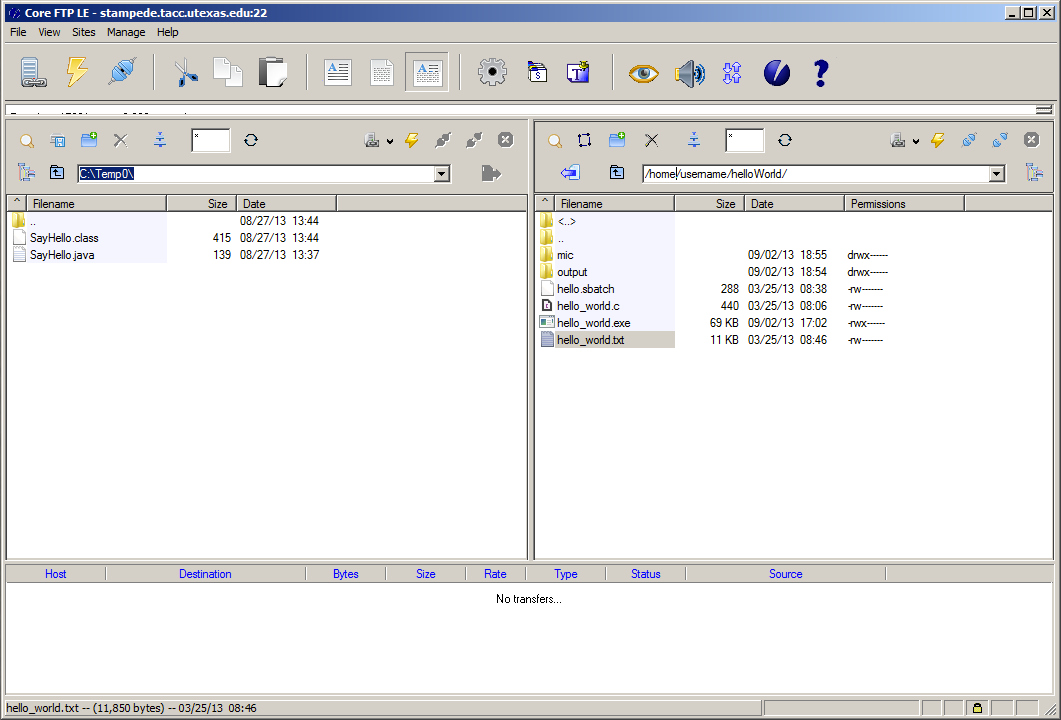
After a connection is established, you should see your local files
in the left frame and your remote files in the right frame, as shown
below. It will then be possible to transfer files between the
local and remote systems by clicking on the file to transfer and
then clicking the blue transfer arrow next to the directory text
box.
Testing the SSH Connection to a Running Virtual Machine
Note that your virtual machine must be running for the
commands/programs below to work.
In your virtual machine type:
sudo ifconfig
Look at the ip address for your virtual machine under the heading "eth0".
It should be something like 10.0.2.15.
To test that this address works try to log into your virtual machine
using PuTTY.
Put the virtual machine's ip address in the "Host Name (or IP
Address)" textbox.
Then click connect to login.
The username is bccd. The password is the same as the
password you used when you set up your virtual machine.
If this works, you should be able to transfer files, too. If
it does not work, continue with the following instructions.
In the VirtualBox menu, click Devices then Network
Adapters. In the Network Adapters dialog, change the "Attached
to:" dropdown option from NAT to Bridged Adapter.
Ensure the name of the adapter is the right one. For example,
if you are using a wired ethernet line, choose ethernet,
or if you are using wi-fi, choose wi-fi. Once
chosen, click ok.
Reset your BCCD virtual machine. Once reset, run "sudo
ifconfig" again. If on wifi, your virtual machine ip
should be something like 192.168.0.100. Then, follow
the steps below.
Establishing an SFTP Connection to a Running Virtual Machine
Note that your virtual machine must be running for the
commands/programs below to work.
Once installed, open the program.
Enter the virtual machine's ip address under "Host / IP / URL",
again this is likely something like 10.0.2.15 or 192.168.0.100
and should come from running the "sudo ifconfig" command at
the command prompt inside the virtual machine.
The username (unless you have added accounts) is bccd.
The password is the password you set up for the bccd user.
Change the "Connection" to "SSH/SFTP" in the dropdown box.
Click connect.
Provided a connection is made, you should see files from your local
machine on the left hand side of the CoreFTP LE window and files
your virtual machine on the right hand side of the CoreFTP window.
Files can be transferred back and forth between local and virtual
machine.